


We attach great importance to customers' needs for product quality and rapid production.
We always insist that meeting customers' needs is to realize our value!
+86 133 9281 9446
Apr. 23, 2026

Leo Lin.
I graduated from Jiangxi University of Science and Technology, majoring in Mechanical Manufacturing Automation.
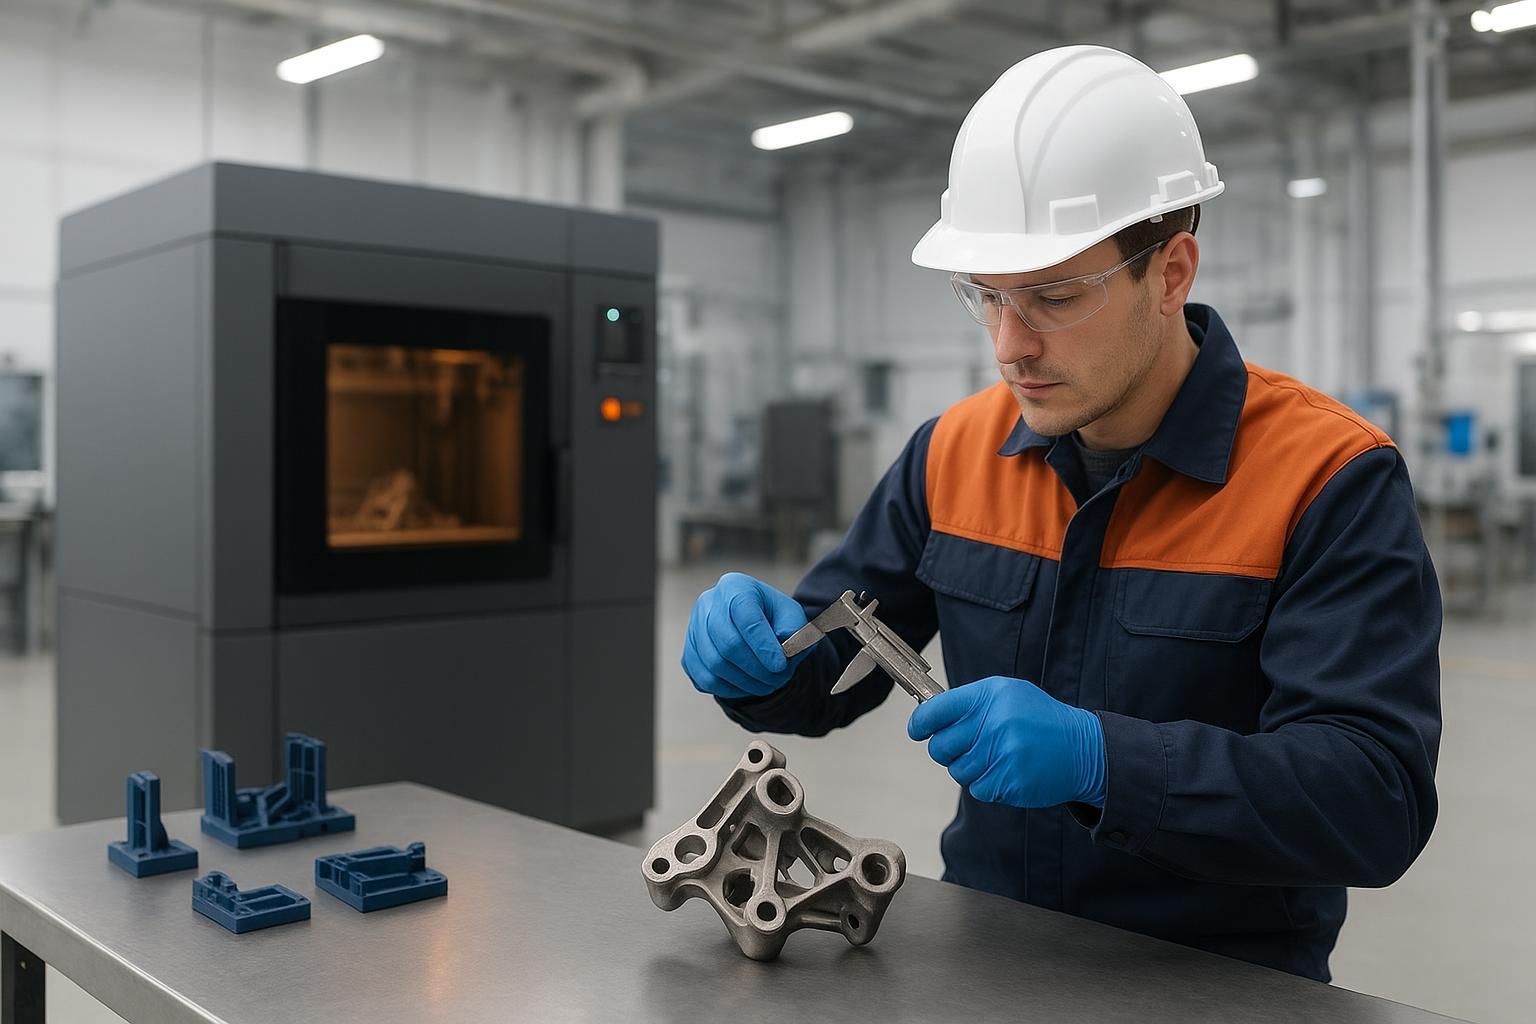
Industrial 3D printing (often called additive manufacturing, or AM) covers many additive manufacturing applications and has matured into something more useful than “fast prototypes.” In the right places, it’s a production tool for shortening lead times, reducing assembly friction, and keeping factories running when supply chains don’t cooperate.
In the wrong places, it becomes a slow, expensive way to make parts that still don’t fit.
This guide is written for engineering-led teams that care about real constraints: tolerance, surface finish, inspection, repeatability, and what happens after the print.
Before we list use cases, one mindset shift helps: treat AM as a process chain (print + post-processing + inspection). Then pick applications where that chain is actually an advantage, not overhead.
3D printing delivers the most reliable ROI in tooling and manufacturing aids: jigs, fixtures, soft jaws, gauges, and end-of-arm tooling (EOAT).
Treat AM as a process chain, not a single machine: printing + depowdering/curing + heat treatment (sometimes) + machining + inspection.
Decide early whether your part is prototype, production aid, or end-use. The acceptance criteria and inspection plan change.
For tight fits and critical datums, plan for hybrid manufacturing (print then machine) instead of trying to “print to final tolerance.”
Additive manufacturing is the family of processes that build parts layer-by-layer from a 3D model.
In an industrial context, AM typically means one of these buckets:
Polymer printing (plastics) for prototypes, fixtures, housings, ducting, and some end-use components
Metal printing for high-performance components or when you need geometry that machining can’t produce efficiently
You’ll hear technology names like SLA, SLS, and SLM:
SLA (stereolithography): resin-based printing that can deliver fine detail and smooth surfaces, often used for visual prototypes, patterns, and models.
SLS (selective laser sintering): powder-based polymer printing (often nylon) that’s strong and functional for assemblies and fixtures.
SLM (selective laser melting): metal powder-bed printing for dense metal parts, typically followed by post-processing.
The details vary by machine, material, and supplier, but the decision logic is stable: match the process to the job, then design for the process.
The cleanest way to think about applications is by the job the part is doing.
Why it matters
When you’re still validating form, fit, and basic function, AM compresses iteration loops. You can test multiple revisions without waiting on hard tooling.
How to implement it
Use AM early to validate packaging, cable routing, airflow paths, and human factors.
If your next step is CNC machining, use AM to verify geometry before you pay for tight tolerance work.
If your next step is injection molding, use AM models to sanity-check draft angles, parting lines, and assembly clearances.
Failure mode to watch
Teams treat an early printed prototype as proof of manufacturability. It isn’t.
A prototype that “works” can still fail DFM (design for manufacturability) once you apply:
tighter tolerances
real surface finish requirements
production materials
fastener torque and long-term fatigue
Pro Tip: If a dimension will be inspected in production, label it as a critical-to-quality (CTQ) feature in your drawing package and plan how you’ll verify it before you place the first purchase order.
Why it matters
Printed tooling reduces lead time, keeps operators consistent, and frees up CNC capacity for revenue parts. This is why 3D printed jigs and fixtures show up in so many plants first.
Common examples:
drill guides
assembly fixtures and locating nests
go/no-go gauges for quick checks
CMM (coordinate measuring machine) or handheld inspection aids
How to implement it
Design fixtures around the workflow: how the operator picks the part up, orients it, and confirms it’s seated.
Add wear surfaces where you expect repeated contact. A printed body plus metal bushings or inserts can be a practical combination.
Build in datum references so your inspection method is repeatable.
If you don’t have in-house capacity, you can source these parts the same way you source prototypes. For example, a supplier like Kaierwo can produce polymer or metal printed parts depending on the application.
Failure mode to watch
Fixtures fail when you ignore stiffness and temperature.
Polymer fixtures that see torque loads can creep over time.
High-heat environments (near welding, ovens, or hot parts) can distort tooling unless the material is appropriate.
Why it matters
EOAT lives at the intersection of speed, weight, and uptime. AM can reduce mass, integrate air paths, and create part-specific grippers without a long tooling cycle.
How to implement it
Start with a printed prototype EOAT to validate reach, collision envelopes, and pick reliability.
Once the geometry is stable, decide whether the final EOAT should remain printed, become hybrid (printed body + metal interfaces), or move to machined metal.
Failure mode to watch
Layer orientation and stress direction don’t match.
AM parts can be anisotropic (properties vary by direction). If the load path aligns with the weaker axis, you’ll get early failures.
Why it matters
If a line is down, a “low-value” part becomes extremely expensive.
AM supports a digital inventory model (think: 3D printing spare parts on demand): keep a qualified file and print when needed. This can be practical for:
legacy equipment
low-demand spares
non-safety-critical covers, brackets, and guards
How to implement it
Define which spares are eligible: non-critical, low load, and not regulatory constrained.
Keep a controlled revision of the CAD and print settings.
Create an inspection checklist that matches the part’s function (dimensions, fit, basic strength checks).
Failure mode to watch
“Looks right” becomes the acceptance criteria.
For spares, define what “good” means. Even a simple spare can require:
a flatness spec to avoid vibration
a hole pattern tolerance so it fits without rework
a surface requirement so it seals
Why it matters
Sometimes AM’s best role is to help another process.
Typical examples:
patterns for casting
master patterns used to create silicone molds
conformal-cooling inserts (advanced use case)
How to implement it
Use AM to produce the master, then use a secondary process for replication.
For low volumes of plastic-like parts, processes such as vacuum casting can be a fast bridge between prototype and production.
Failure mode to watch
You underestimate post-processing.
A pattern that needs a smooth surface may require sanding, sealing, or coating before it performs as expected.
Why it matters
End-use AM parts are real, but they’re not universal. The strongest cases have at least one of these traits:
complex geometry that reduces assembly (part consolidation)
weight reduction that matters (without losing stiffness)
customization or frequent design change
low-to-moderate volumes where tooling payback is weak
How to implement it
Identify critical features and decide which must be machined.
Write an inspection plan. If you’re in NPI, a first article inspection (FAI) mindset is often appropriate.
Lock down the process chain: print parameters, material lot tracking, post-processing steps, and final inspection.
Failure mode to watch
You treat AM like injection molding.
AM can produce complex shapes, but surface finish, fatigue behavior, and tolerance stability can require more engineering than teams expect. If you need consistent high volume, you may be better served by low-volume manufacturing routes such as CNC machining or injection molding.
You don’t need a perfect material science model to choose the right lane. You need a few engineering questions.
you need fast functional prototypes
you’re building fixtures, nests, gauges, ducts, housings
weight reduction matters more than maximum stiffness
the part won’t see high heat or extreme wear
you need temperature resistance or high strength
the geometry benefits from internal channels or part consolidation
you can justify post-processing (heat treat, machining, inspection)
If any of these are true, assume you’ll print + machine:
tight positional tolerances on holes
sealing surfaces
bearing fits
datums that drive assembly stack-up
That’s not a failure of AM. It’s normal manufacturing.
If you want consistent outcomes, treat AM like any other process: you design for it.
CTQ (critical-to-quality) features are the dimensions that decide whether the part works. For every CTQ feature, decide:
how it will be measured (CMM, gauges, calipers, optical)
what “pass” means
whether you need a first-article-style check before releasing the part to production
Not every dimension needs to be tight.
Tighten tolerances only where function demands it.
For everything else, loosen tolerances to reduce cost and scrap.
If you need process-specific guidance, start with a supplier’s design rules. Kaierwo publishes design guidelines across multiple processes.
Printing is rarely the last step.
Common post steps include:
support removal
depowdering or washing
curing (for resins)
heat treatment (often for metals)
machining critical features
surface finishing
Engineers don’t lose time because they “picked the wrong technology.” They lose time because they picked the right technology for the wrong phase.
Use a non-AM process when:
you need predictable high-volume cost and cycle time
the part needs very tight tolerances everywhere
surface finish is critical across large areas
the design is stable and tooling payback is clear
In those cases, CNC machining, vacuum casting, and injection molding can be the faster path to a part that meets spec.
If you’re deciding whether to print a prototype, build a fixture, or move to a production process, a simple start is to write down:
part function and loads
CTQ features
target quantity and timeline
acceptable post-processing
Then choose the process chain that matches those constraints.
If you want a second set of eyes on process selection (SLA vs SLS vs metal printing, or whether CNC/vacuum casting/injection molding is a better fit), review Kaierwo’s manufacturing options in low volume manufacturing and share your part requirements when you request a quote.
We attach great importance to customers' needs for product quality and rapid production.
We always insist that meeting customers' needs is to realize our value!
